
This section is aimed at encouraging young gardeners and will be updated from time to time.
Check out great hints and tips about sowing seeds, watering, potting and composting and even tasty recipes for you to try.
WHAT TO DO IN MARCH
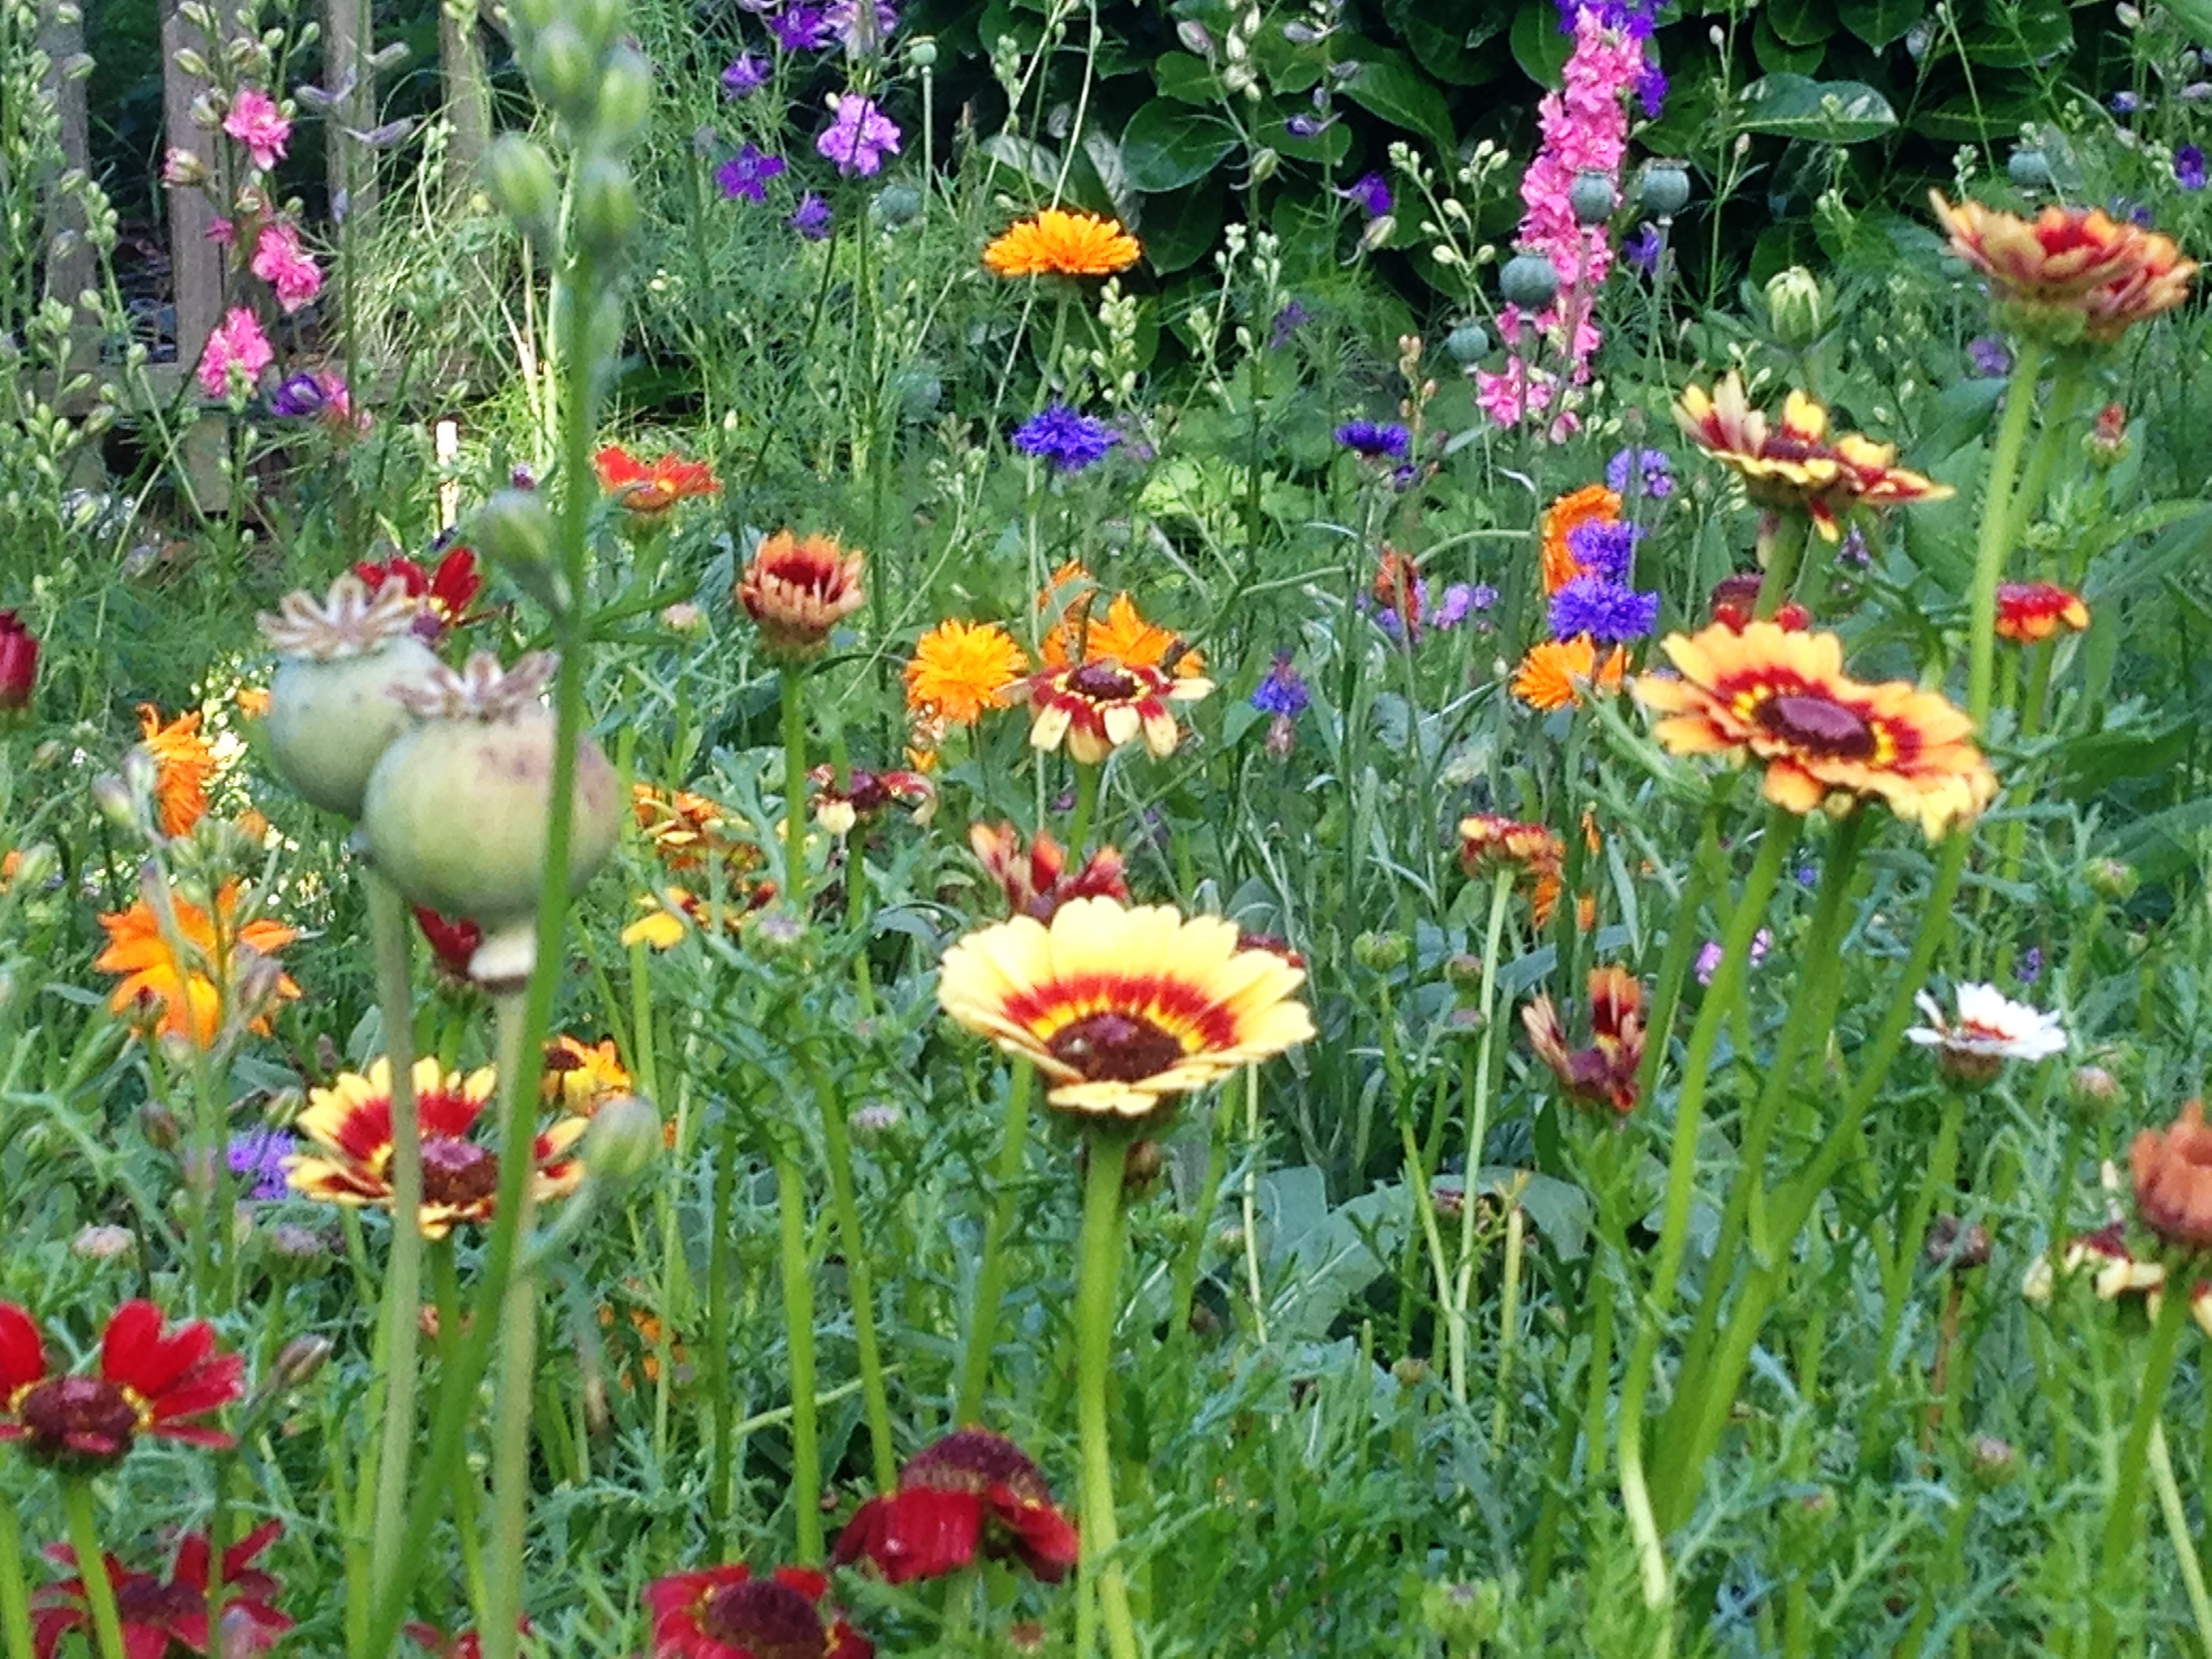
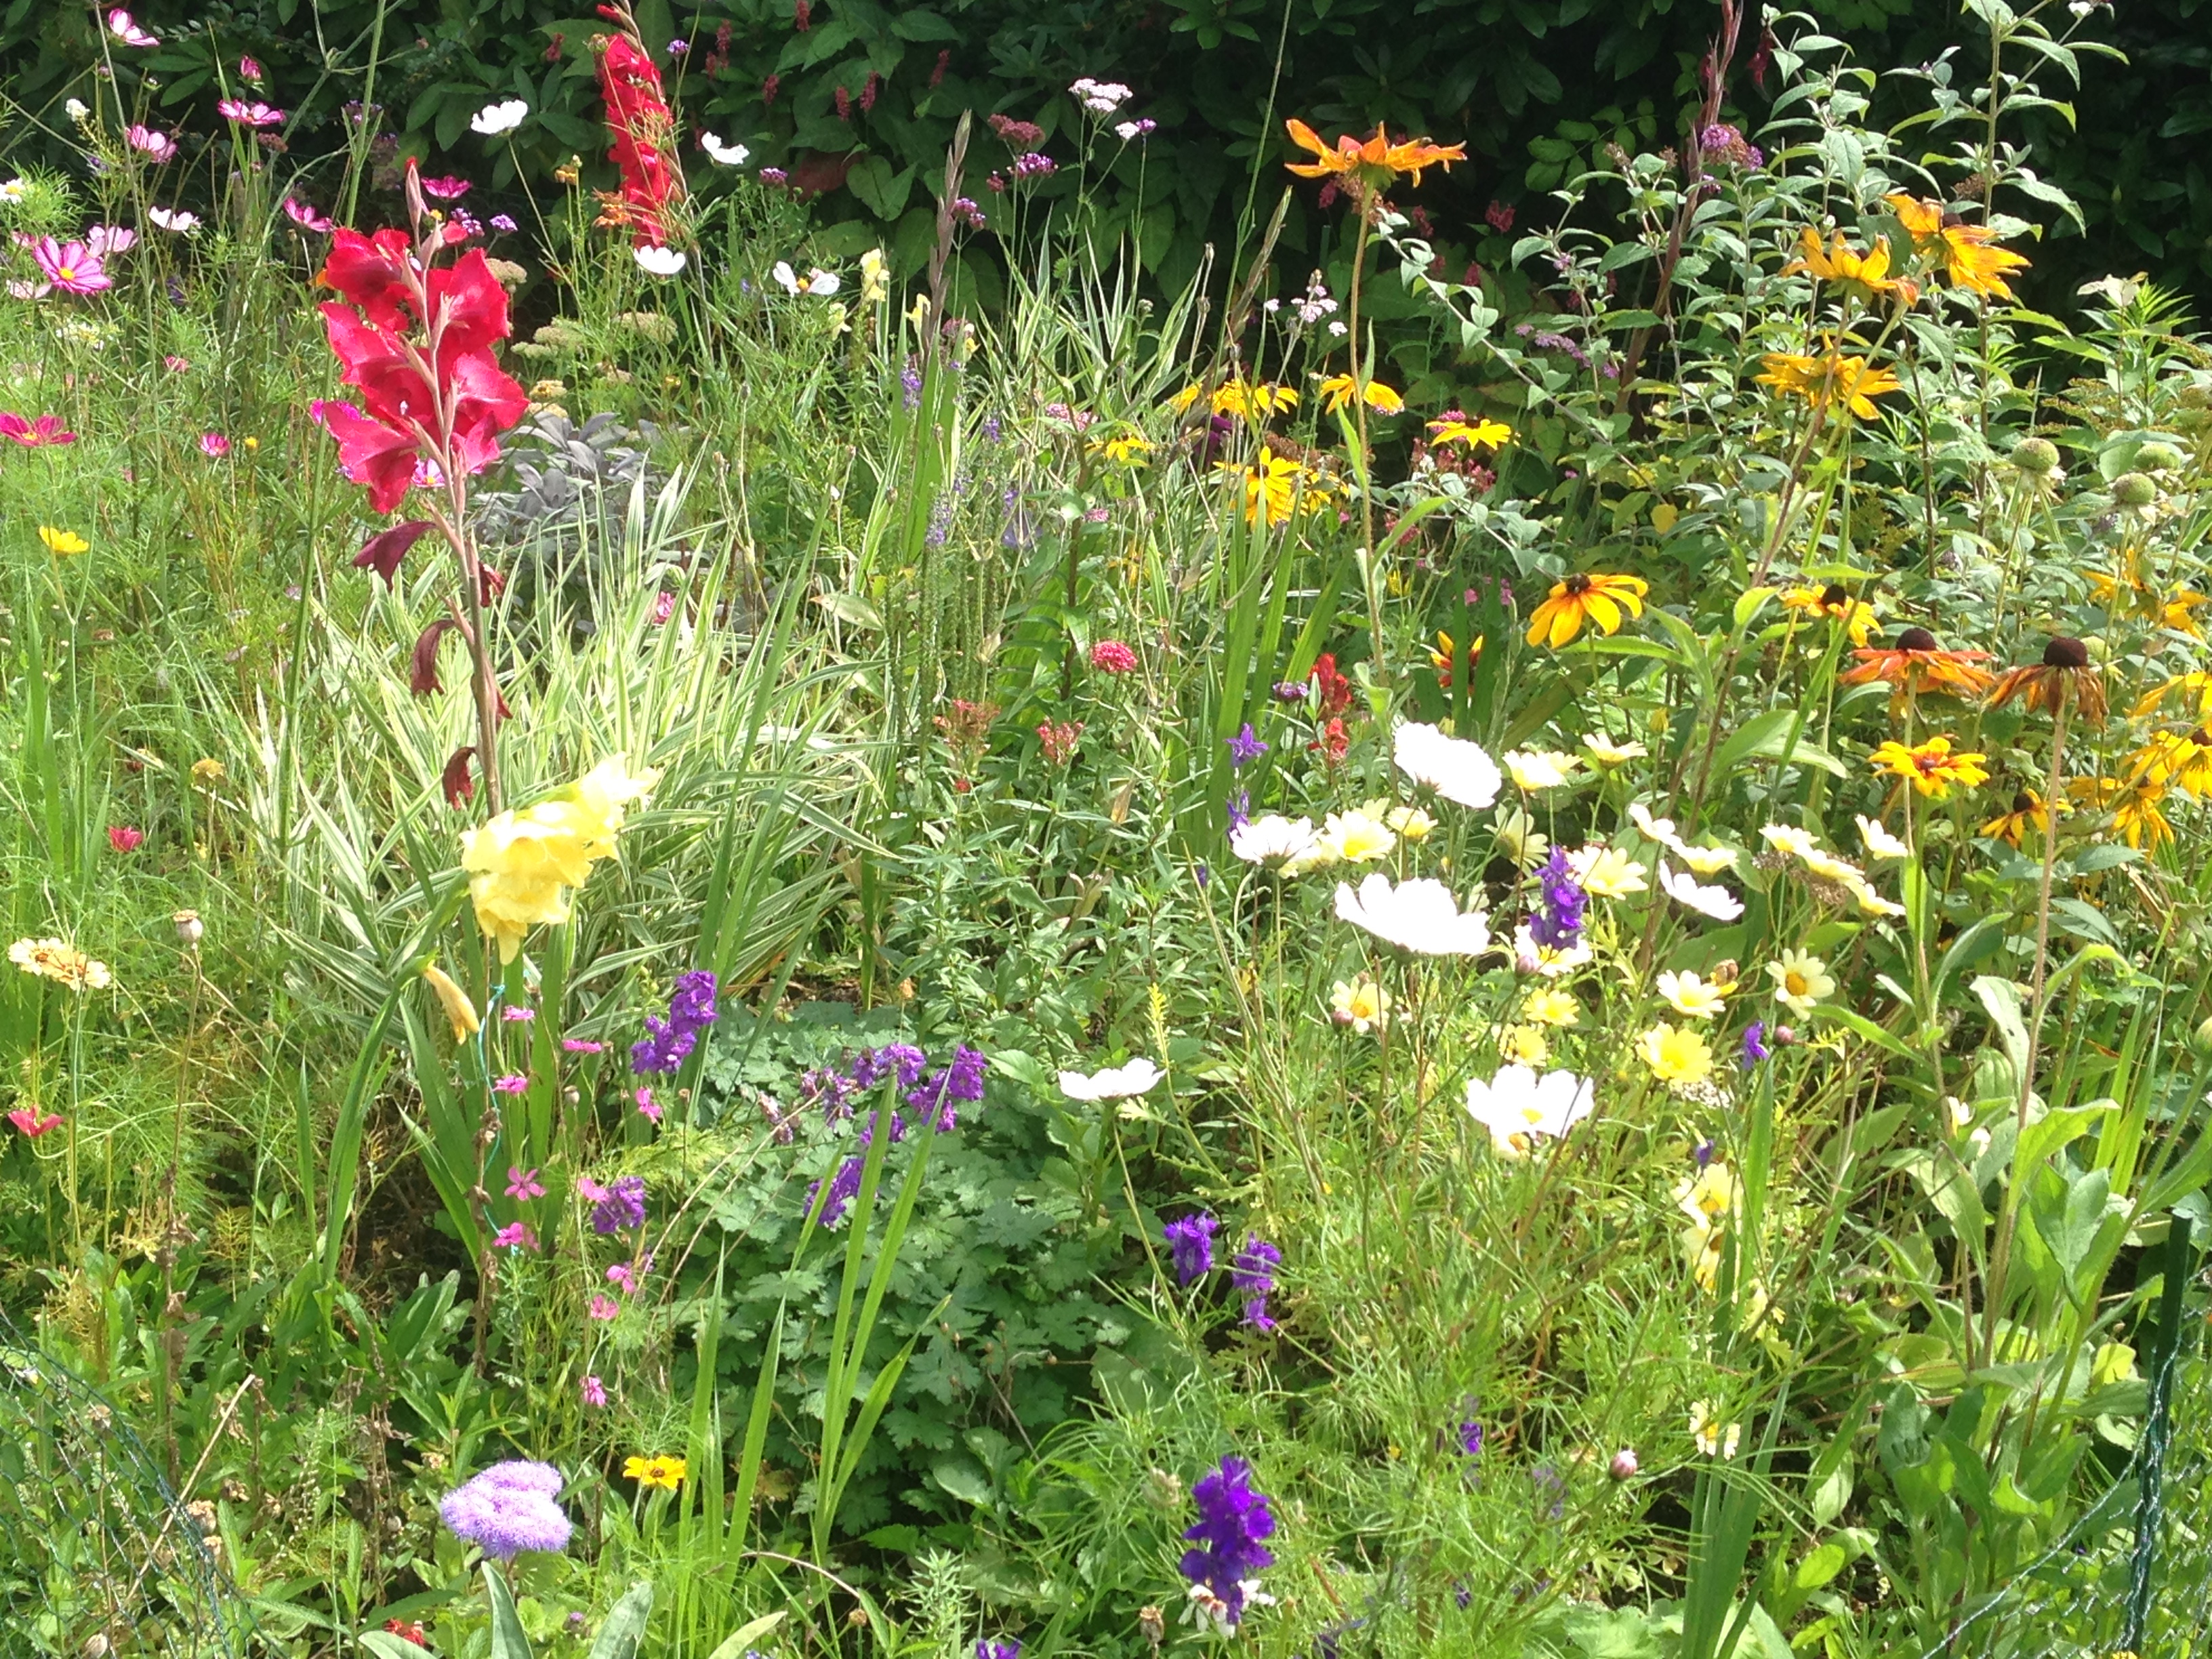
1. GROW SOME WILDFLOWERS AND ANNUALS
This is my favourite idea from last year and is really simple to do. The best time to do this is towards the end of March.
Search out all your old out of date flower seed packets of annuals and perennials.
(I found some from as far back as 2010.)
Alternatively use mixed annual seeds which are reasonably priced.
HOW TO GET STARTED…
Find or clear a patch of ground so there are no weeds. I used a large area to give a meadow effect (I had loads of seeds!!). Even a metre square would look fabulous.
The soil should be moist, but if not, water the area.
Sprinkle the seeds thinly but fairly randomly over the area.
Use a rake to lightly go over the area and incorporate the seeds into the soil.
Wait and see what comes up…
This activity is great fun because…
- It uses up all your old seeds (no waste).
- It takes minimal effort as the seeds do not usually require extra watering unless there is a really long hot dry spell.
- Its exciting to try and work out what is growing. Don’t forget to keep a list of the seeds you planted or just save the packets as they have pictures to aid identification.
- It’s challenging to try and work out what is a weed. (I only removed the obvious ones like dandelions and thistles. If in doubt, wait and see…)
- Some things will do well, others won’t. Was it down to the age of the seeds or other factors?
- You will have some great colour combinations and maybe different shades of the same flower.
- You can chart when each type first flowers and take photos along the way.
- Your flower patch will provide a haven for beneficial insects.
- Seeds can be collected from the flowers in Autumn and you can repeat the experiment again next year free of charge!
CRESS
GETTING STARTED
Cress seeds need warmth and moisture to grow. Don’t let the soil dry out, but don’t drown your seedlings either. Spray once or twice a day with water and that should be enough.
NEXT
Cress is the easiest of crops to grow. You can also harvest your cress seedlings as peppery microgreens when they are just a few centimetres high.
WHEN TO PLANT
Cress can be grown all year on a sunny windowsill.
WHERE TO PLANT
Cress is mainly grown in shallow pots or trays filled with sterile potting mix.
WATERING
Mist your cress seedlings with water frequently so the soil stays moist.
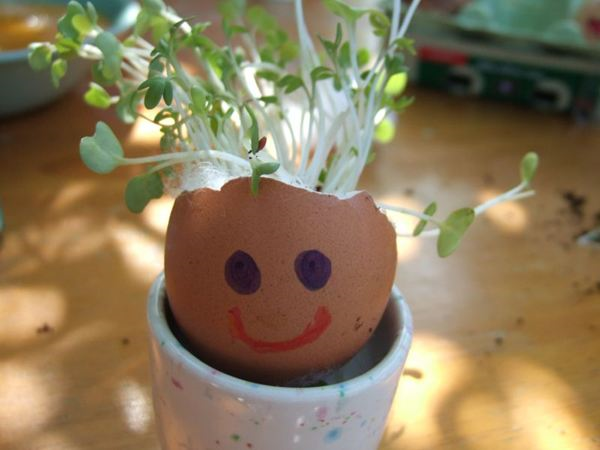
GET POTTY
Cress is easy to grow in a pot or small container. For a fun project, cut the top off a boiled egg, eat the egg, then fill the shell with damp cotton wool and place your cress seed paper on top. When the cress appears, draw a funny face on the egg.
EXPERT TIPS
If you are growing cress on a window sill, turn the seedling pot every few days so the stems grow straight.
Cress seeds will even grow without soil on a damp piece of kitchen towel or cotton wool spread on a saucer. Mist it with water every day and cress seedlings should soon appear. You could even have fun making shapes or letters out of the kitchen towel or cotton wool.